Cheese-making is a long standing tradition around the world, with almost every culture developing their own specific types (except the Chinese and Native Americans). But the basic steps of the process remain the same no matter where you go. It’s been made for a long time now and the process is pretty simple — simple enough, in fact, that you can make it in your own home.

One article isn’t enough to cover all the ways of making cheese out there, so we’ll talk about each of the steps in general then take a look at how to make the tastiest cheese in existence.
1. Getting milk
Finding good quality milk will probably be the most problematic step in the process. No matter what animal it comes from, whole, unprocessed raw milk is the best base for making virtually any type of cheese. But it can be hard to get your hands on it — raw milk commercialization is banned in several countries around the world. If you live in the US, you can check your state’s position on the issue here.
In a pinch, off the shelf milk works too, but avoid ultra heat treated (UHT) or homogenized milk if you can. The heat treatment UHT milk goes though alters the protein casein, and the milk doesn’t hold together well enough to make cheese. If you plan to give UHT a try, read this forum first for a few tips.
In the case of homogenization, fats are smashed into the casein, causing them to partially bind. The molecular thrashing about involved in the process also alters some of the casein. Overall, it won’t be able to bind as well, making for a thinner curd — still, it’s much better than UHT. If using homogenized milk, skim through the forum here for tips and tricks.
Lastly, keep in mind that processed milk can lose a lot of its calcium or fat content taken up in other products. This will negatively impact the quality of your cheese and may even ruin your efforts altogether. A few tablespoons of calcium salt (calcium chloride, CaCl2) should be enough to replenish the calcium.
Adding buttermilk, cream, or similar products to the milk can help replenish fat content if done right. There is no universal recipe for success here, however. Since dairy and dairy product quality varies a lot from place to place, ask local cheesemakers and experiment on this point to find out what quantities and products work best.
Small cheeseries usually purchase their milk from dairies which don’t pasteurize. This intact bacterial content can supply enough lactic acid (a curdling agent) on its own by processing lactose (sugars) if the milk is left to sit long enough. Depending on which cheese is being produced, this ripening milk is sometimes heated.
If using pasteurized milk, a culture of bacteria must be supplied to start producing lactic acid. Yogurt or sour milk can be used to supply these bacteria if you can’t find any starter cultures.
2. Curdling

If you give it enough time, lactic acid levels will rise enough to start tying the proteins on its own. But if you wait up to that point, you won’t have a tasty cheese. With a few exceptions in fact, it will probably taste quite horribly.
So rennet is added to the mix before this point. Traditionally, rennet was harvested from the stomachs of calves and lambs. One of its main components is chymosin, an enzyme which act on the casein in milk and curdles it — biologically, it curdles mother’s milk in the digestive tract of calves to allow better absorption of nutrients.
Today however rennet is mainly produced by genetically engineered bacteria colonies. There are also a lot of veggie alternatives, so take a look online or in local shops to see what your options are. Depending on the type of rennet and manufacturer, you’ll probably have to process it in some way before addition — usually, this is as simple as mixing with a cup of warm water.
The rennet speeds up the milk’s separation into curd (the solid bit, lumps of phosphoprotein and fat) and whey (the liquid part of milk, that contains lactose, minerals, vitamins, and traces of fat.) The layer of curd flows to the top where it’s cut into chunks — bigger ones for soft cheeses, and smaller for hard cheeses. After cutting, the mix is sometimes heated to make it fully separate faster.
3. Pressing the cheese
The whey is drained after separation but the chunks of curd still have a lot of moisture in them. Depending on which kind of cheese you’re trying to make a certain amount of it has to be drained. Some cheeses are good as they are at this point but for others, the pieces of curd have to be cut, heated, or filtered to dry further. To make cheddar for example, the curd has to be “cheddared“, or chopped into fine pieces. For Parmesan, you have to cheddar and then cook the curd.
Regardless of how you process the curd, if you want to age it it has to find its way into a mold. Wrapped in cheesecloth, it’s pressed into the wheel-of-cheese shape in the mold.
By this point, the curd looks like cheese, has the texture and humidity of cheese — it’s basically cheese. But the taste isn’t yet quite right. Now it’s time for the finishing touches.
4. Aging the cheese

Image credits SplitShire / Pexels.
This step involves salting the cheese in brine, inoculating it with mold, or wrapping it in a material to be aged. The more it’s aged, the sharper, more pungent the flavor. Cheddar for example can be aged for one to two months (mild) up to several years (extra sharp). Fresh and soft cheeses don’t need to be aged.
And now, for the grand finale!
Making telemea
Try saying “telehmeah”. Ok, try again. Well that’s close enough.
You may not know it yet, but telemea is the best cheese in…everywhere. It’s a soft-ish, creamy white traditional Romanian cheese with a relatively high water content. Think of feta cheese, only much better.

Image via bio-romania.
And lucky you, you’re about to learn all about how to make it with the tools lying about in your kitchen and a trip to the store. Possibly an old t-shirt too, if you can’t find any cheesecloth.
[panel style=”panel-info” title=”You’ll need:” footer=””]
- 8 liters of milk (best to use raw or unhomogenized milk).
- Rennet — you’ll have to follow producer’s guidelines to determine the quantity needed.
- 60 grams of homemade yogurt or sour milk.
- Brine made with water and uniodized salt.
[/panel]
You can theoretically use any type of milk for this, sans the UHT kind (for homogenized milk you’ll need to add calcium salts, see point 1). Now:
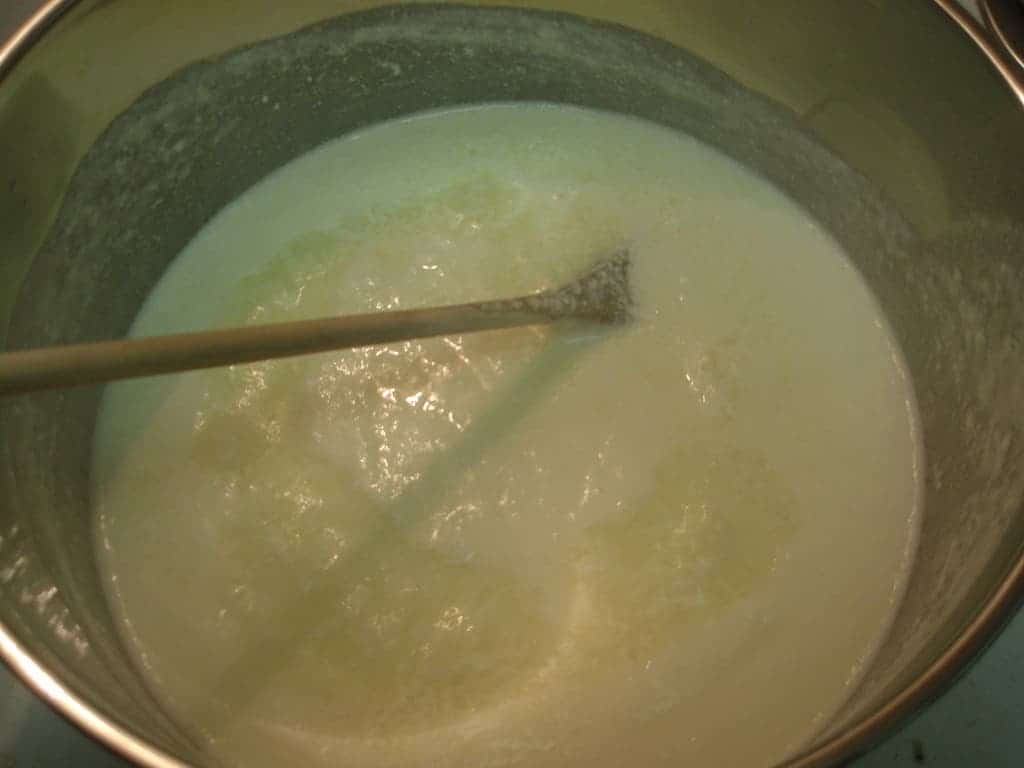
- Slowly heat the milk up to 80°C (176°F) — as a rule of thumb heat it but keep it from boiling. Then let it cool down to 31-36°C (87-96°F).
- Now we need to make the milk acidic to promote curdling. Add sour milk or homemade yogurt to the mix. If you don’t have any, 2 teaspoons of vinegar will do the trick. Stir thoroughly and let set for 5-10 minutes keeping the above temperature constant.
- Add the rennet. If you need to mix it with water, make sure to use still water — the chlorine in tap water will inhibit the reaction.
- Keep the 31-36°C temperature constant for around 45 minutes to one hour. You’ll know the milk is ready when you can run a knife all the way to the bottom of the pot with a clean cut. If not, just give it more time until this happens.
- Cut the curd in strips 2-3 cm (0.7-1.2in) in length. Cut again perpendicular on these lines, keeping the proportion, to form squares.
- Cover the base and walls of a strainer with cloth, and leave it in the sink or over a collecting pot. Move the curdled milk to the strainer (use a smaller vessel like a teapot or bowl).
When the curd dries up a bit, tie the cloth in a bag and hang it up somewhere. Gravity will strain the rest of the whey from the curd. When it stops dripping, put the bag in a mold (any shape works really,) put a plate and something heavy over it, and let is rest overnight.
You’ll be delighted to know that you now have a solid piece of cash. It’s actually “caș”, but it sounds the same and why ruin a nice thing. It’s very tasty as it is but you’ll need to salt it to have true telemea. To make the brine, pour and stir the salt in water until the crystals won’t dissolve any more — what the chemists call a saturated solution. Around 150-200 grams (5.3-7oz) of salt in one liter of water should be enough.
Put the piece of cash in the brine (that’s one sentence I didn’t think I’ll have to write today). It will tend to float about half-way out of the water, so sprinkle salt on this side and let it sit. You’ll have to turn it and salt the cheese at least once a day, and 48 hours of salting will get you a moderately-salted telemea — but you can let it sit in brine for as long as you want. Even a few months. Just remember to submerge it in water to desalt before eating it. Salting will also harden the cheese and improve the texture.
Keep the telemea in a fridge in a closed container for at least 24 hours to cure it, and then enjoy!


